
Most often used as a provisional cast-on, I use the crochet cast-on a lot with any garter stitch based patterns I knit. I like how it matches the standard cast off and also how it fits nicely with the fabric. I've specifically used it for a few of my own patterns, in particular Slip Jig Scarf (released February 2019), as well as the upcoming Slip Jig Shawl, and Hornpipe Bag.
To give it a try you'll need the following:
about 5-10 yds of single colored yarn
appropriate needles for your yarn weight
a crochet hook at least one size smaller than your knitting needles
I'm using a worsted weight yarn with a 4.5mm/US 7 circular needle and a 4.0mm/US 6/E crochet hook in the photos.
1 Make a slip knot and place it on the crochet hook. Hold the crochet hook in front of the knitting needle and the yarn behind the needle. Sort of a knitting needle sandwich.
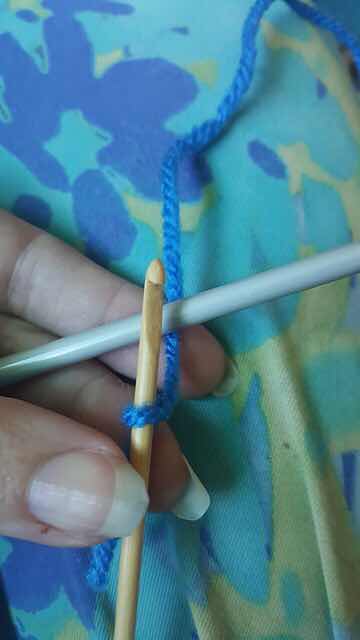
2 Wrap the yarn around the hook and pull it down through the slip knot.
That's one stitch on the needle.
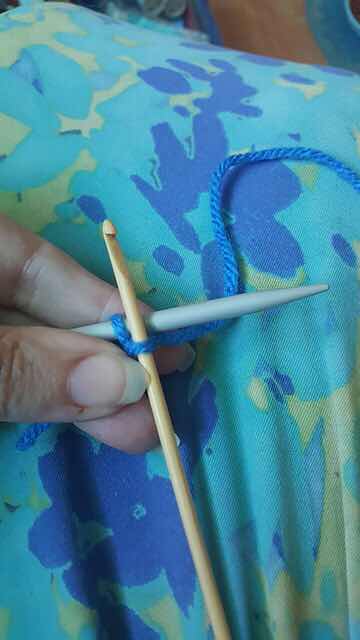
3 Continue adding sts in this manner. That is: hook in front of the needle and yarn behind the needle, wrap the yarn around the hook and pull down through the loop on the hook.
Here you see 7 stitches on the needle, the 8th about to be added. Continue until you have 1 less stitch than needed for your cast on. In my example, I needed 23 stitches total, so I continued until I had 22 stitches on the needle.

4 Transfer the loop from the hook to the needle…
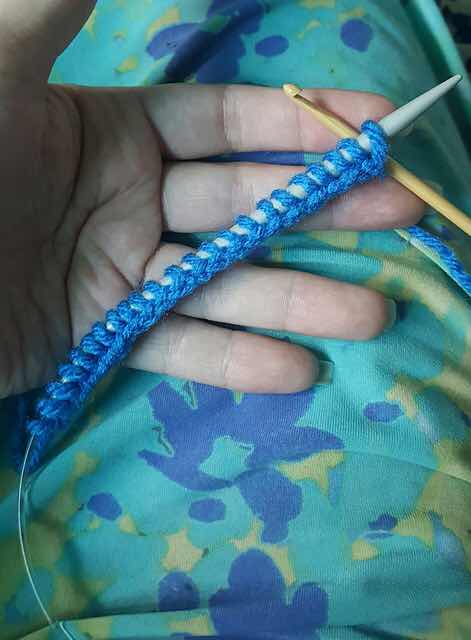
5 And voila! Your cast-on is complete.
To continue your project, start knitting at the first row of your pattern.
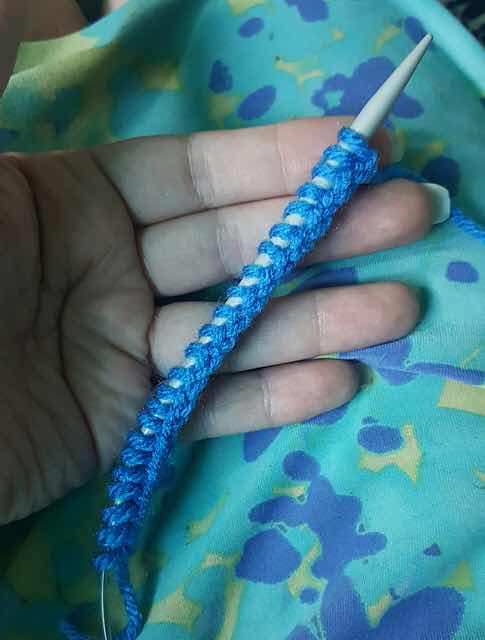
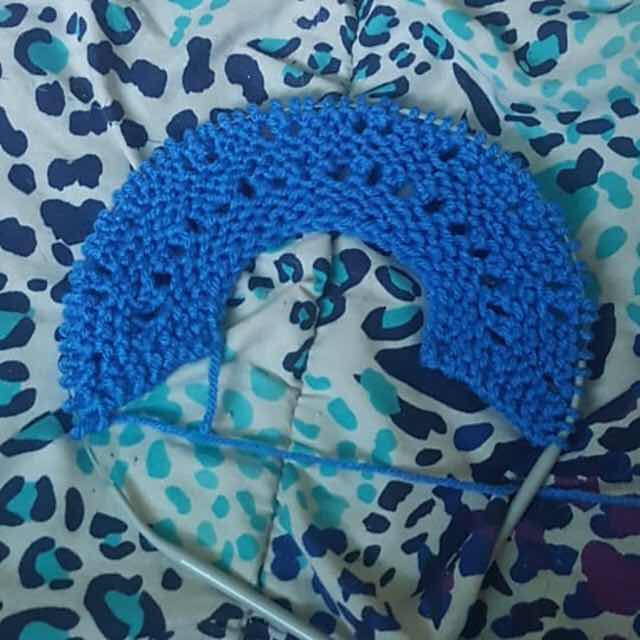
As you can see, the cast-on blends nicely with the garter stitch fabric.
This cast-on can be used with any pattern that doesn't call for a specific cast-on.
I hope this photo tutorial was helpful to you. If you have any questions or comments, please enter them below or I can be reached through the contact form in the sidebar.
No comments:
Post a Comment
What do you think? I'd love to hear from you!