
This tutorial is for my Hornpipe Bag pattern, and shows how I went from knitting the base flat in rows to knitting the sides of the bag in the round.
For this tutorial, I'm using two colors of worsted weight yarn, Fresh Green as the Main Color (MC) and Charcoal (gray) as the Contrast Color (CC), and two circular needles: the working needle is a 3.75mm (US 4), while the needle used for picking up the selvedge stitches is a 2.5mm (US?). I used a 3.5mm crochet hook for casting on my stitches. (Need a photo tutorial for the crochet cast-on? I have one on this blog here.)
(Please note that the demo piece has a different stitch count and motifs than the base in the pattern. I've given the correct numbers for the pattern throughout this tutorial.)
This is where your base is at:

The work is ready to work a right side row. You're going to pick up and work the stitches reversibly, working the first round of the sides chart instead of continuing to work flat.
Step 1:
With MC K2tog (this is the first MC st and the double stranded selvedge st), then with CC P1. Here's working the K2tog:


Work across the next 74 sts (37 st-pairs) on the needle according to the chart.
With MC, K 1, with CC P2tog (this is the last CC st and the double stranded selvedge st). This is positioning the needles to work the P2tog:


You have 78 sts (39 st-pairs) on your working needle. Place a marker and don't turn the work.
Step 2:
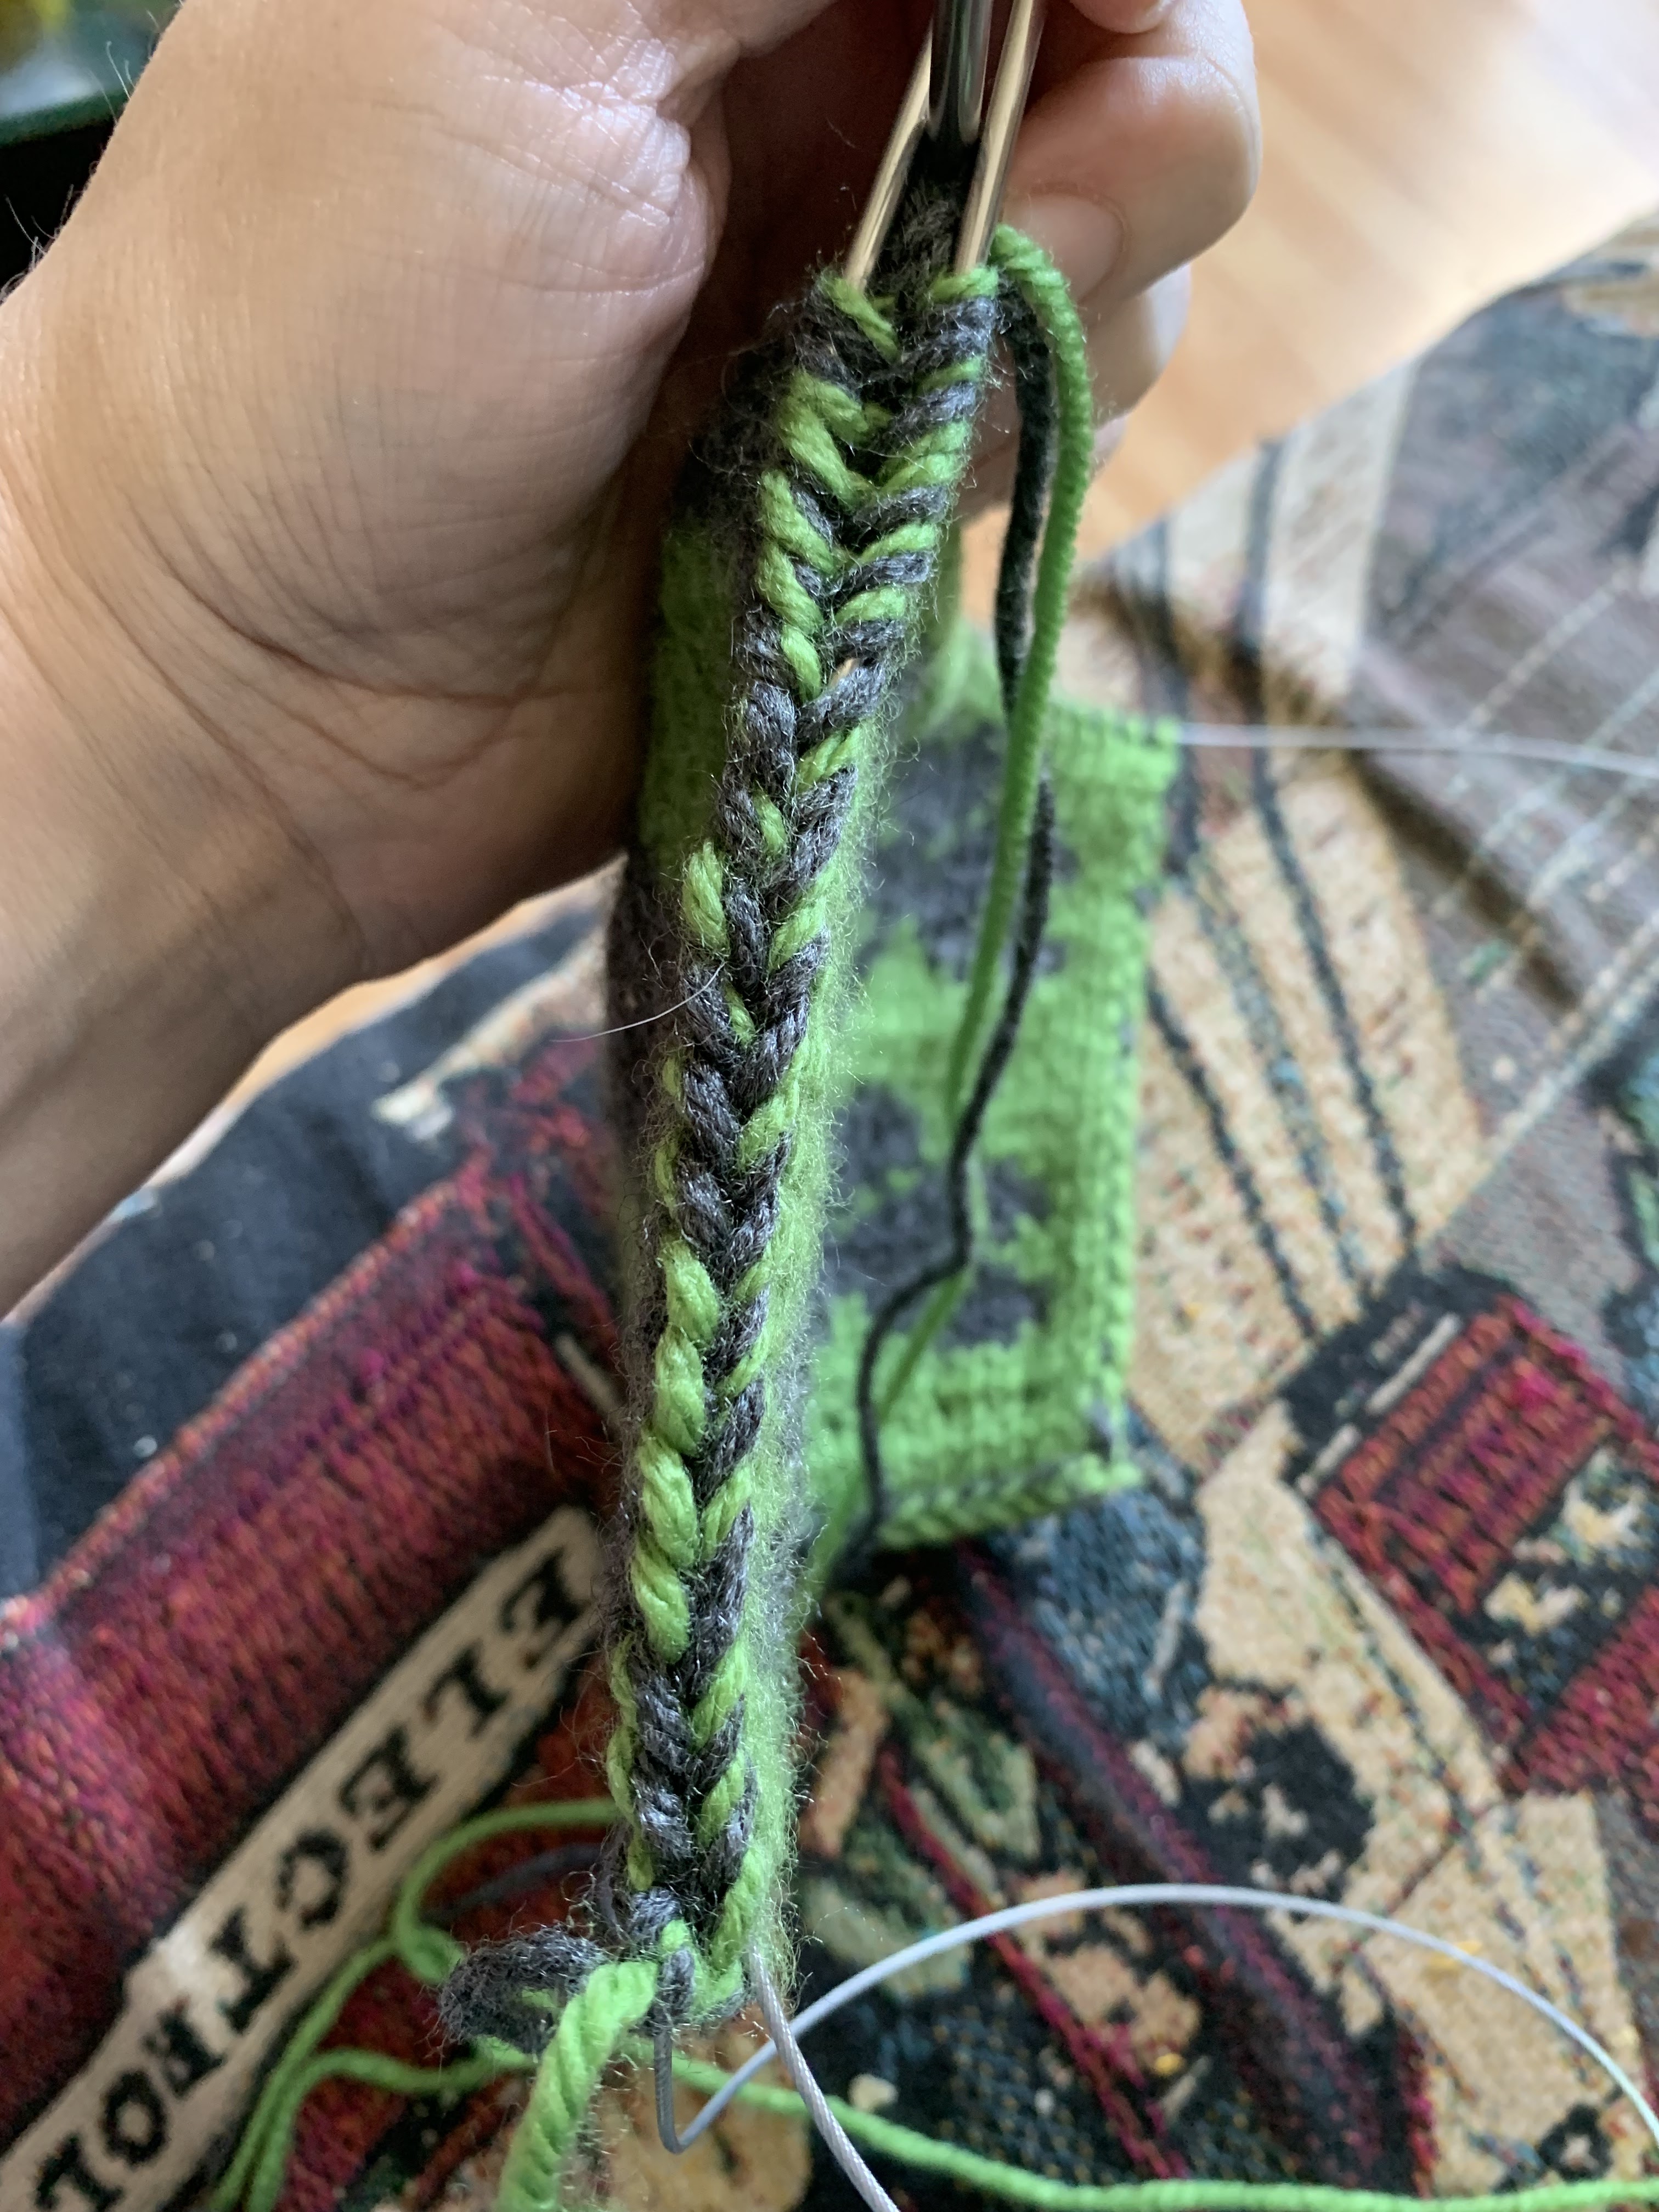
You'll notice the selvedge on each side of the base looks like a column of Vs. This is the left side:

Note that the yarns are in position to start working down this side.
Starting at the bottom of the left side, thread the spare circular needle through all of the right legs of the selvedge edge stitches until you reach the top. Here's the first 12 or so picked up:


Using the opposite end of the spare circular needle, thread it through all of the left legs of the selvedge edge stitches. You'll want to turn the base over to do this; here's the left side of the Vees getting started:


*Make sure both colors are at the back of the work. Using CC, K the first leg on the front needle:

Bring both colors to the back and using CC, K one strand of the first leg on the front needle. Here's what it looks like to work into only one strand of a leg:

(It doesn't matter which strand you work into first. I go for the closest one rather than lifting one over the other. The strands were twisted together as you worked the selvedge so do what's easiest and don't stress.)
Bring both colors to the back and using CC, K the remaining strand of the first leg on the front needle.
Bring both colors to the front and using MC, P the remaining strand of the first leg on the back needle.
What do you have at this point? You've turned 2 selvedge Vees into 6 sts (3 st-pairs). Which is the proper ratio for picking up sts along a stockinette edge: 3 picked up sts on each side for 4 rows of knitting.
Repeat from * until 3 legs remain on the front and back tips of the holding needle.
Work the last 3 legs without separating the strands so you end with 78 sts (39 st-pairs) on the side.** PM. Here's what you have along that side:

You're halfway through!
Step 3:
Here's what the crochet cast-on edge looks like:

Work across the cast-on edge of the base section, using MC for the Ks (legs closest to you) and CC for the Ps (legs away from you) working without separating the strands of the legs. You’ll have 78 sts (39 st-pairs) across the cast-on edge. PM. Here's the cast-on edge all worked into:

Starting from the top of the base section, thread the spare circular needle through the legs of the selvedge sts as you did for the first side. The right legs of the (upside down) Vees picked up:

And both legs picked up:

PM for beginning of the rnd:

There are 312 sts (156 st-pairs) in total. You've picked up and worked all of the needed stitches from the base reversibly, and worked your first round of the sides chart.
Continue working rounds 2 through 63 according to the chart.
I'll have another photo tutorial on working the eyelets for the drawstrings on rounds 64 and 65 for you soon.
No comments:
Post a Comment
What do you think? I'd love to hear from you!